Well, I’m realizing it’s a lot harder to blog regularly when I’m working full-time! I’m blessed to be able to continue working for the company I did in Atlanta, which means that going back to work last Monday threw me full swing into catching up from two weeks off! Our evenings have been spent unpacking, organizing, and visiting every grocery store nearby to try to find the best prices (Walmart seems to be winning…)
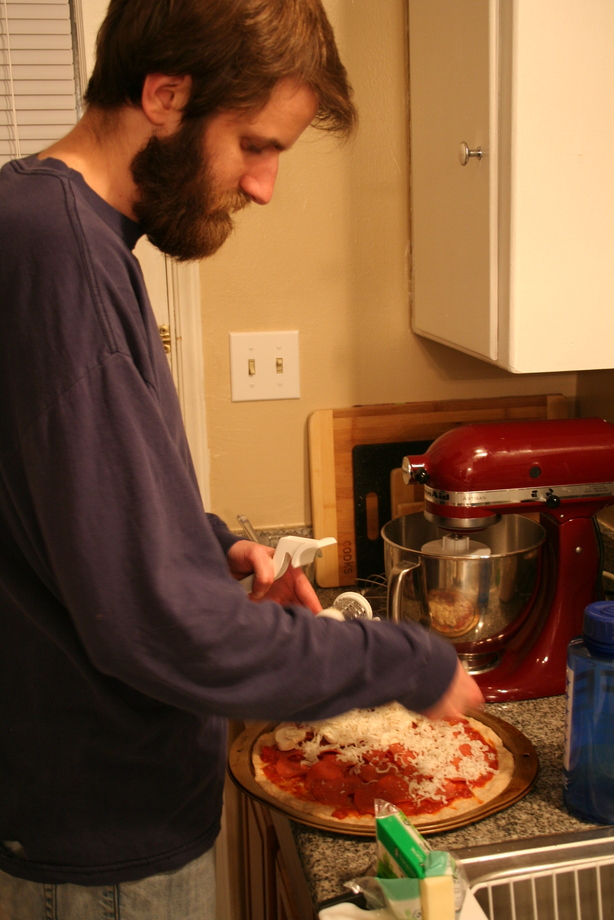
First real meal in the new place: pizza!
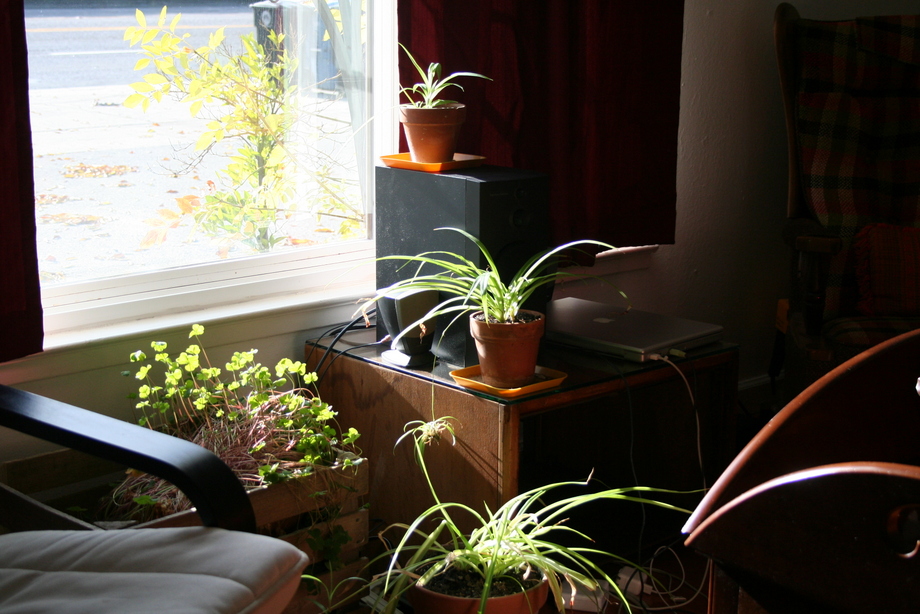
Our plants are enjoying the full sun that we get most of the day in our front window.
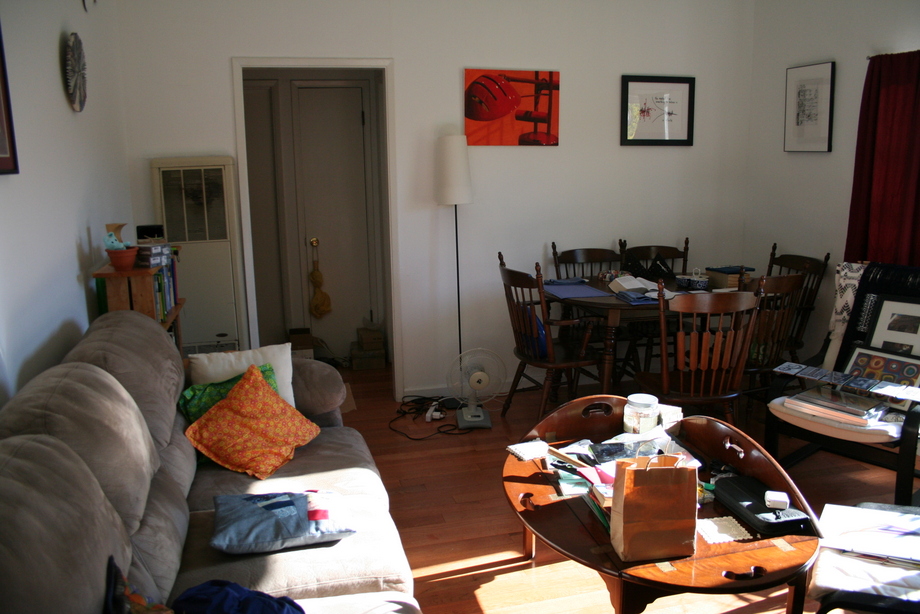
Making progress in the living/dining room – we hung pictures this weekend and just have a few lingering boxes in here.
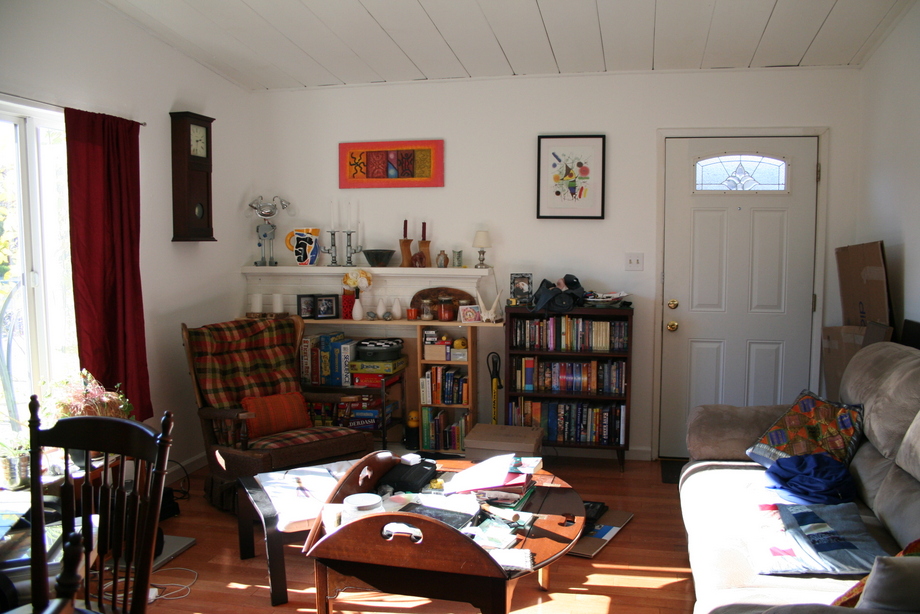
Filling our shelves with our favorite books and happy knick-knacks.
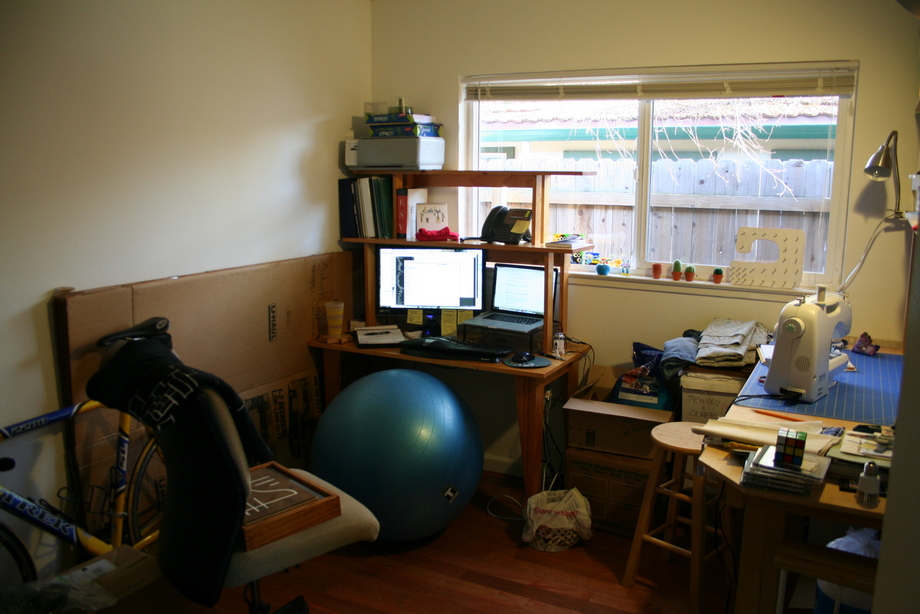
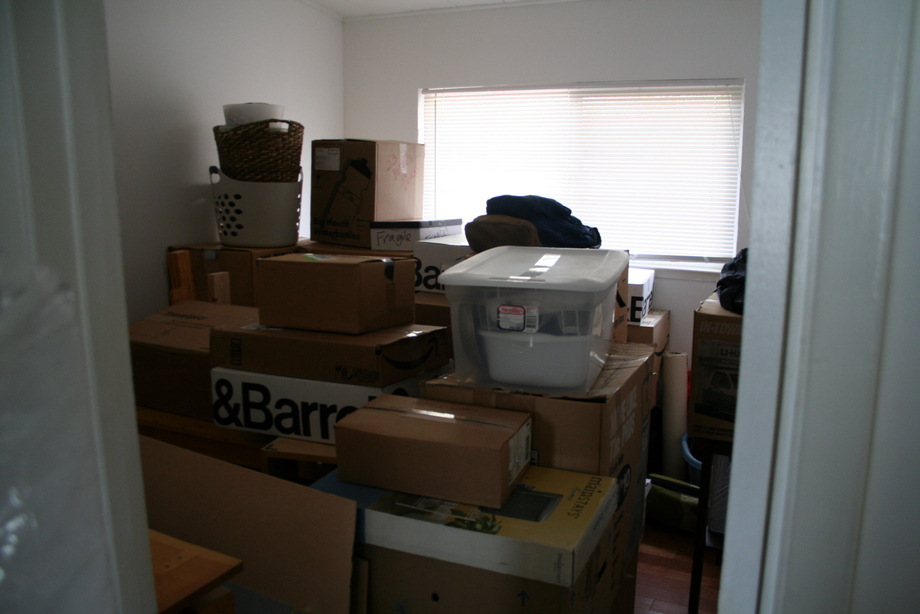
The office/craft/guest room, previously full of boxes, still has a lot of boxes, but at least most of the belong in here now. The 5 stacked under the window are all full of fabric…
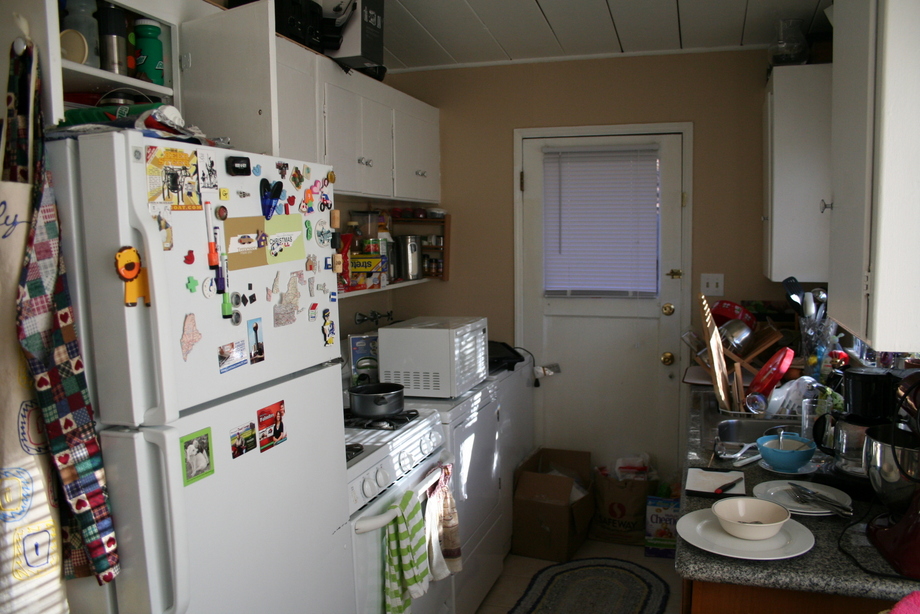
We’re learning how to work with very limited counter space. Current strategies include using the dryer as a work space. Other new kitchen strategies involve seeing how many times we can rinse and reuse a cereal bowl. I think our standards for kitchen cleanliness are directly related to whether or not our living situation has a dishwasher (don’t worry, if you come visit I promise we’ll wash the dishes really well!). I’m optimistic that sometime in the near future, we’ll have finished unpacking all the boxes (well, maybe not the boxes of fabric) and I can take some pictures of our house looking clean and tidy!
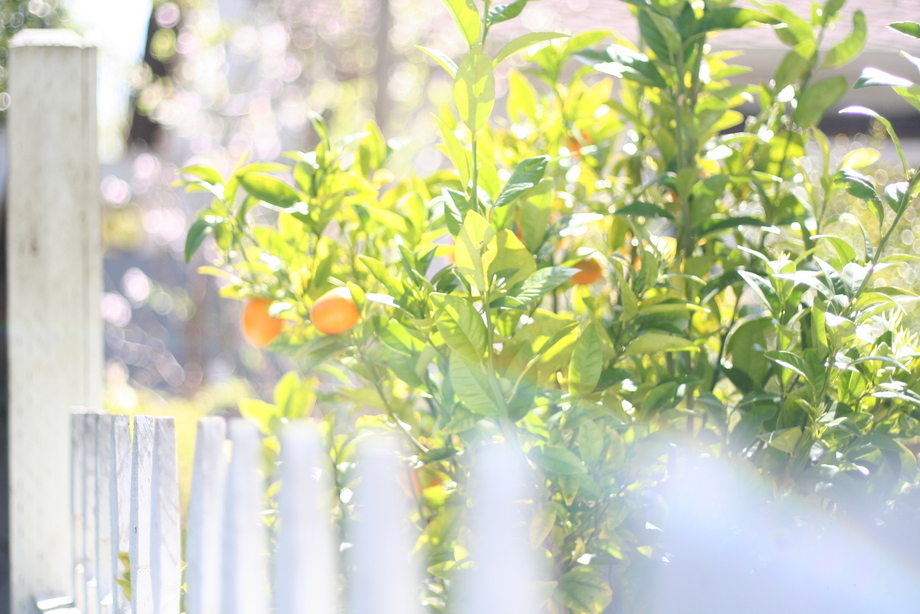 Oranges in the sun – seems so appropriately Californian
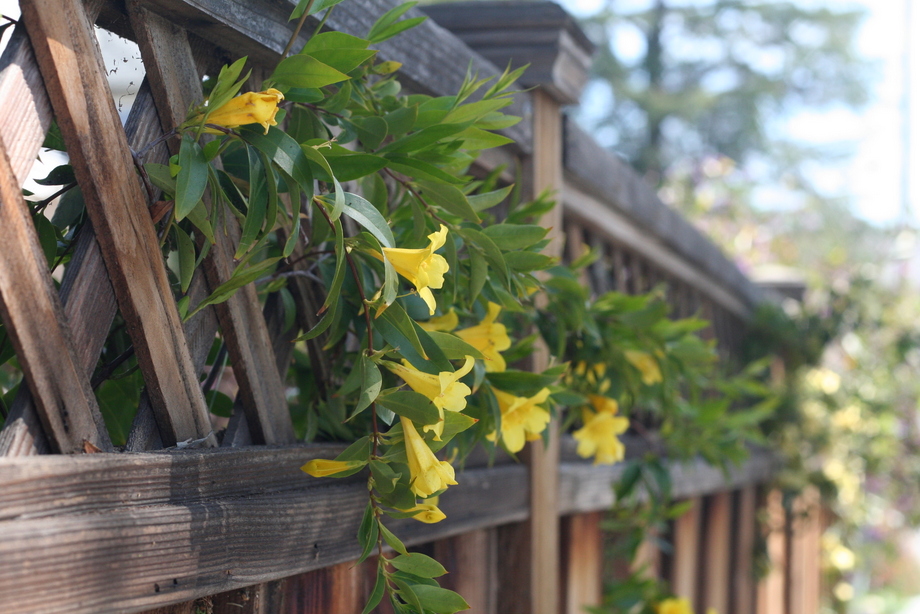 Flowers peeking through the fence
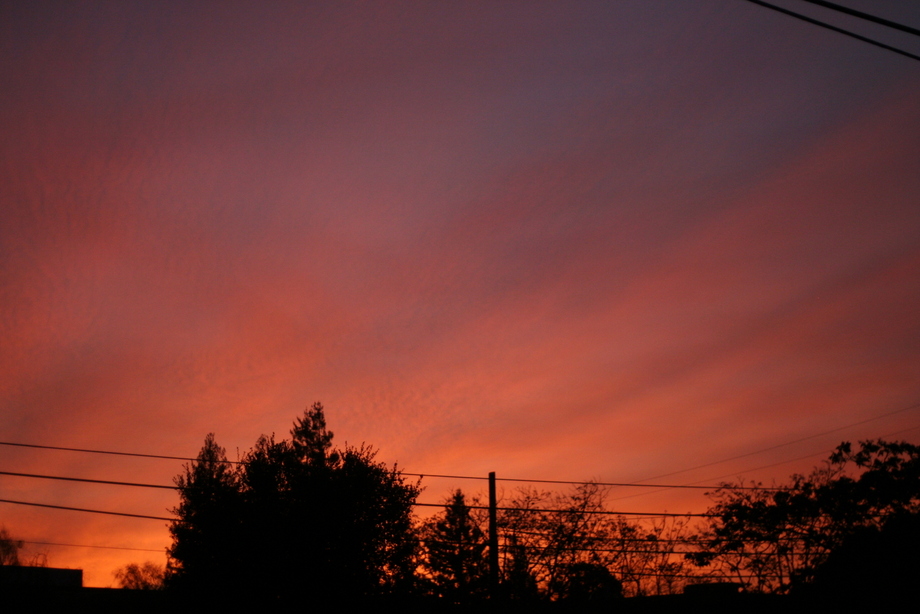
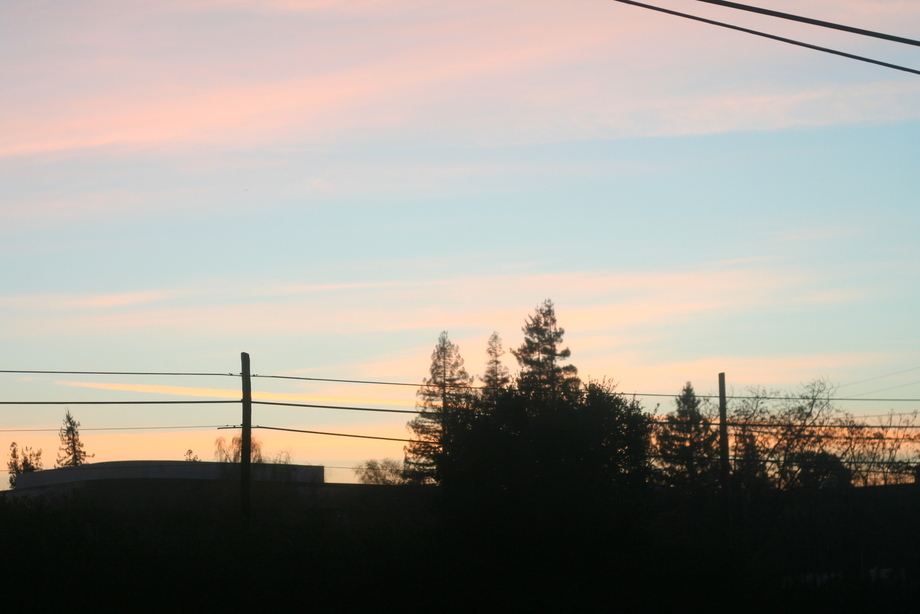
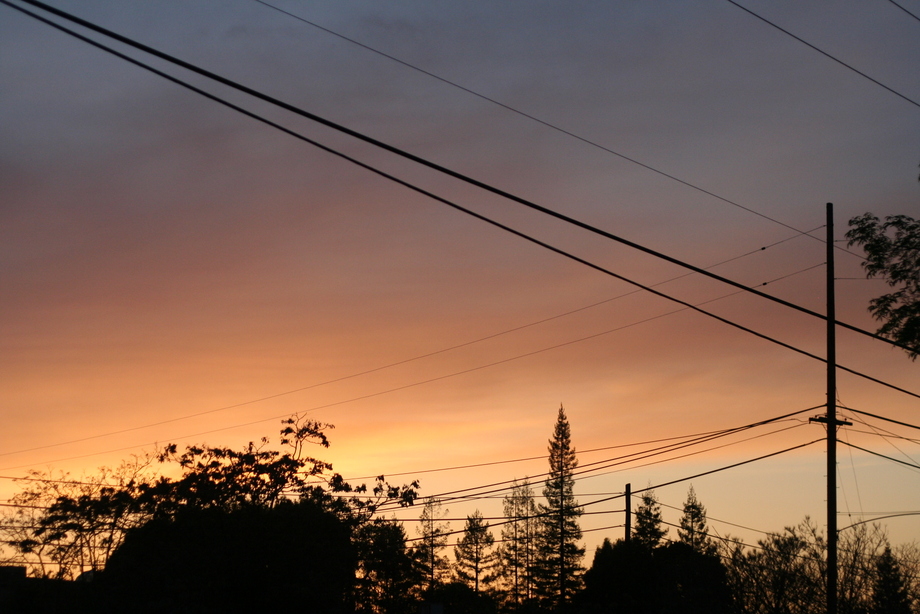 A sunset from our driveway
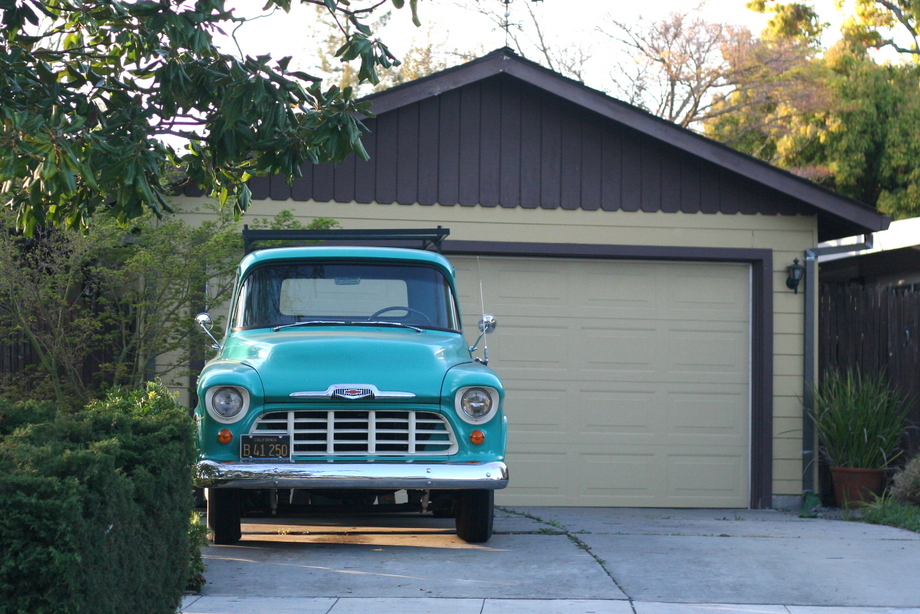 Funky old pickup that lives in our neighborhood
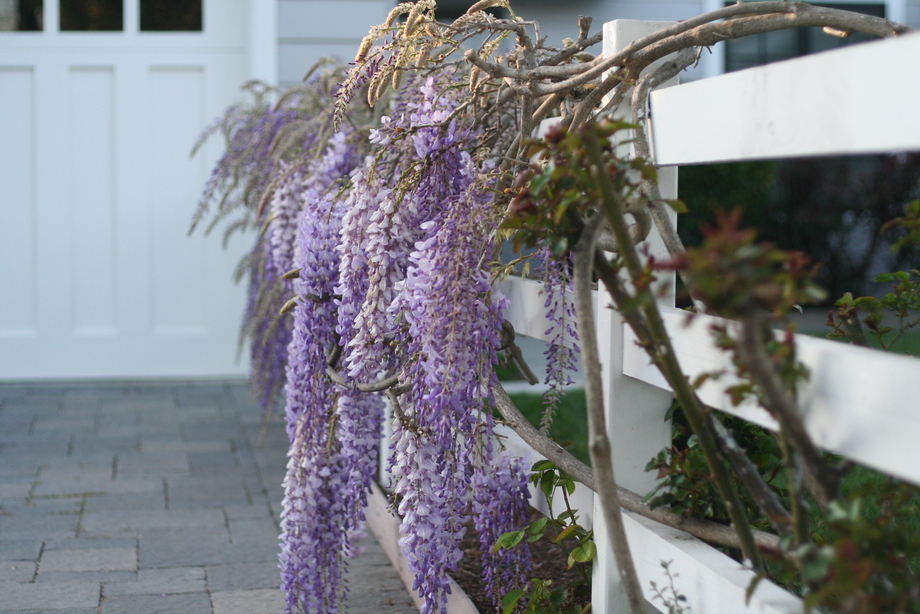 Pretty
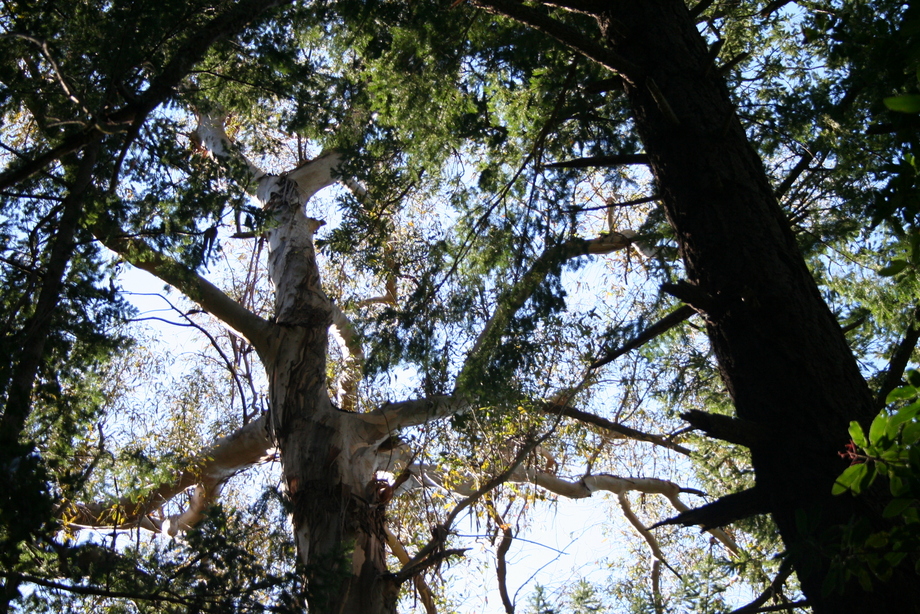
 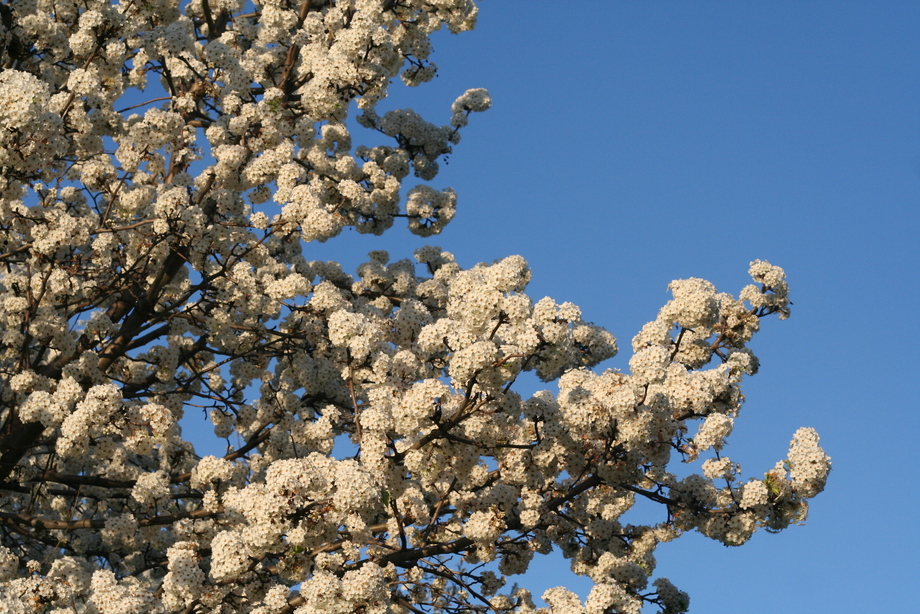 Beautiful blooming tree (Anyone know what kind of tree this is?)
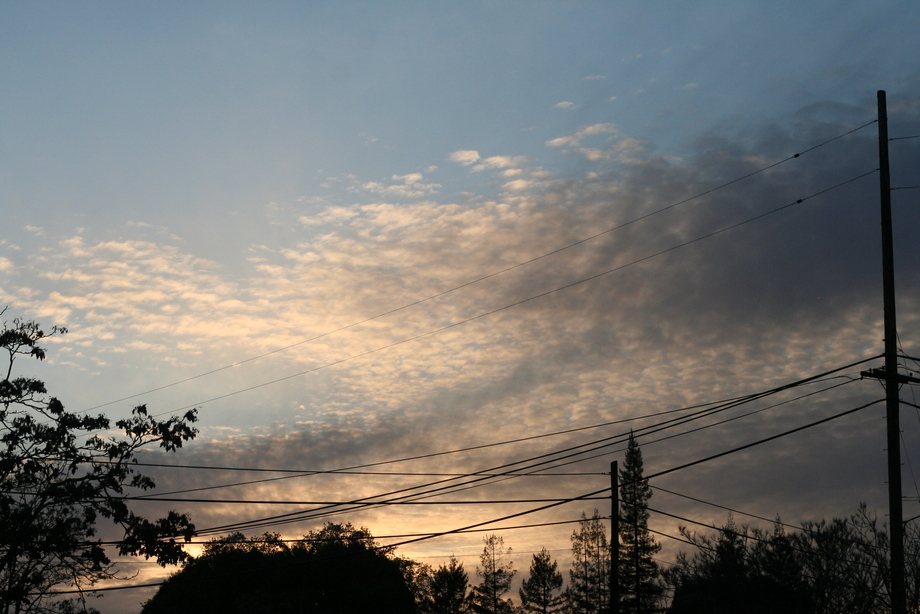 Evening sky on our walk home from an emergency tortilla-chip-acquisition-expedition
